English
Understanding the manufacturing process of carbon fiber structural components.
- Jan-12-2026
- (72) Views
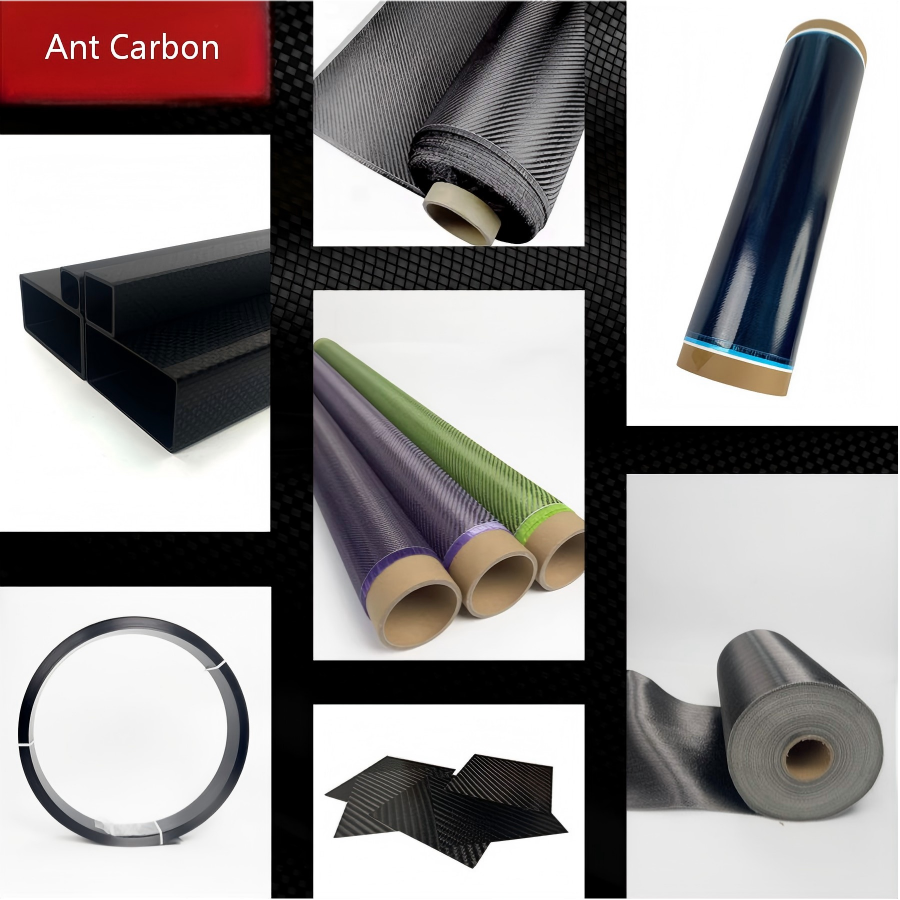
Because carbon fiber is both strong and lightweight, its use is becoming increasingly widespread in the manufacturing of bicycles, aircraft, and even some automobiles. Sometimes, the manufacturing process for carbon fiber structural components is not complex; it simply involves creating a good mold, applying the carbon fiber, and then finishing the part after it dries.
1.Suitable molds
Before beginning to manufacture products with carbon fiber, molds need to be prepared, which will shape the carbon fiber into the desired form. Some carbon fiber parts are popular in the automotive and motorcycle industries, so molds can often be purchased from suppliers.

2. Wear protective equipment.
When handling carbon fiber, you should wear protective gloves, safety glasses, and a face mask at a minimum. This equipment will help prevent inhaling potentially deadly fumes or absorbing harmful solvents through the skin. In addition to wearing protective gear, work in a well-ventilated area to avoid the buildup of excessive fumes.

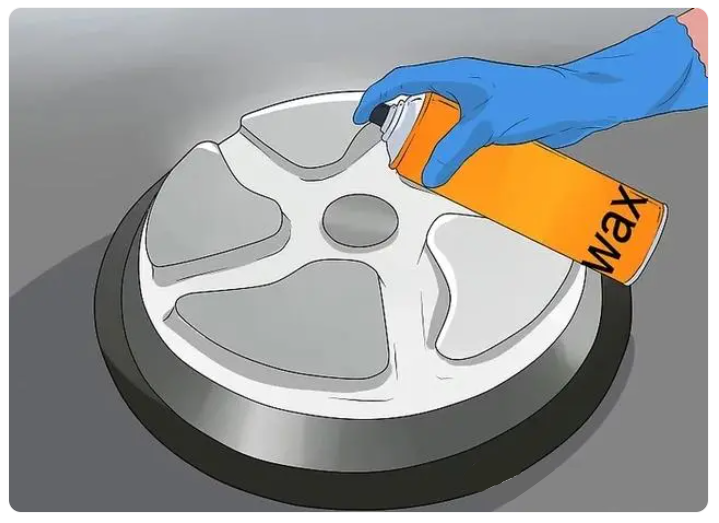
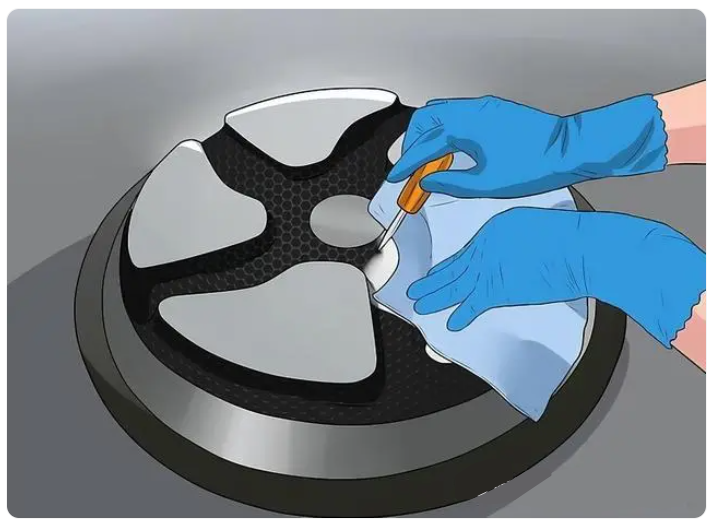
3. Mold preparation
Before proceeding, a material should be sprayed onto the mold to facilitate the separation of the finished part from the mold. This material is typically a special type of wax that does not interfere with the curing process of the part. The wax should not be confused with the resin; it forms a layer between the mold and the resin and does not harden.
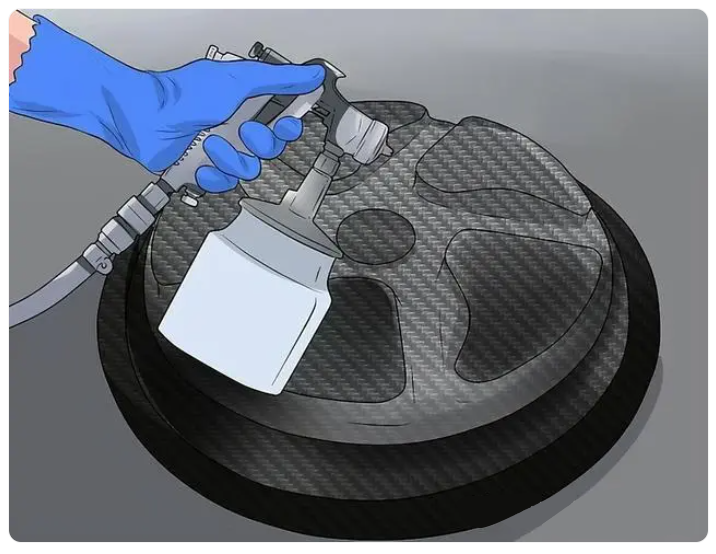
4. Resin coating on the inside
For best results, ensure that all corners and crevices of the mold are completely saturated with resin. Depending on the size of the mold, multiple resin containers may be needed, which will create the surface required for applying the carbon fiber. Unlike wax, the resin will cure and release from the mold, becoming part of the carbon fiber sheet.

5. Laying carbon fiber
Quickly press the carbon fiber or carbon fiber fabric into the mold. As with applying the resin, ensure that the fibers completely cover all parts of the inner mold. If there are particularly tight corners or angles, you may need to consider using a screwdriver or other small tool to press the fibers into the gaps.
6. Add the resin.
Spray more resin inside the mold; the fibers should be completely saturated with the resin.
7. Vacuum bagging of the mold
To prevent dust from entering the resin and to help the fibers conform better to the mold, the mold can be bagged. This involves placing a bag over the mold using a vacuum attachment. Then, a vacuum pump is used to draw air out of the bag, which will also help the resin cure faster.

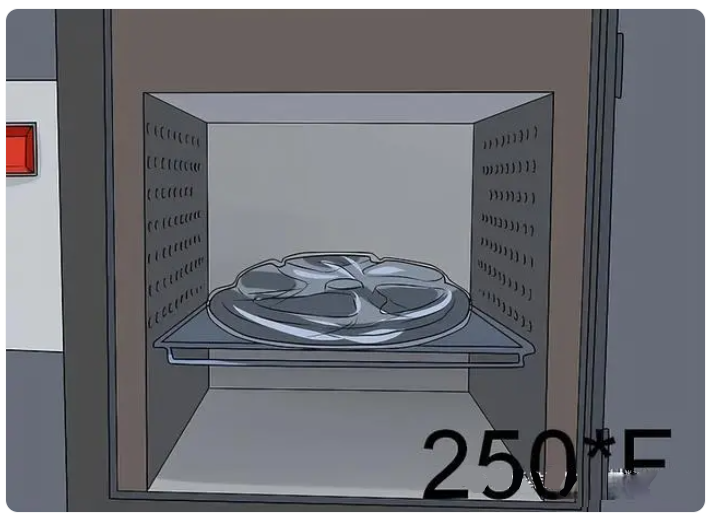
8. High-temperature curing
Heating the carbon fiber parts will accelerate the curing process, requiring the parts to be heated to between 250°F (121°C) and 350°F (177°C) for several hours. Alternatively, the parts can be cured without heating, but this process is often slower, typically requiring at least 24 hours.
9. Apply the resin again.
At least three more layers of resin are then applied. These resin layers are intended to improve the appearance of the part, not its strength or function. This can take anywhere from a few minutes to several hours, as the resin becomes tacky while preparing for the next application.

10. Sanding
Once three to seven layers of resin have been applied, it's time to sand. Sanding the resin removes any imperfections, such as dust particles or uneven surfaces. Be careful not to sand through the resin; sanding the fibers underneath will damage the part.
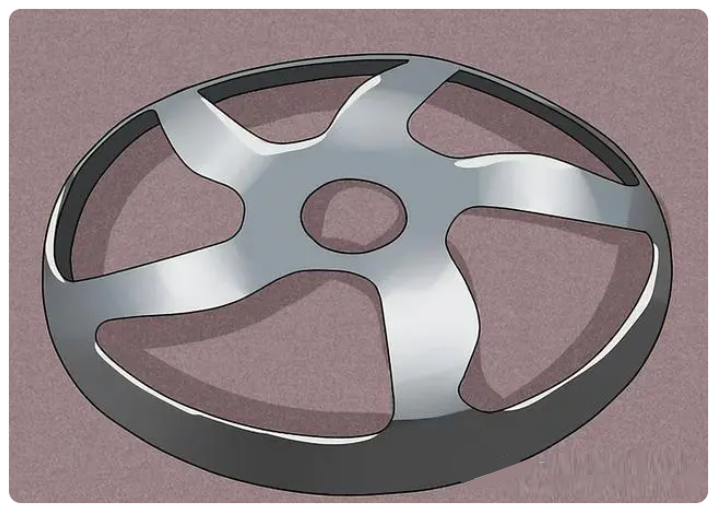
11. Polishing
After sanding away imperfections on the resin, it can be polished. Apply polishing compound with a clean, soft cloth, and then buff with another clean, soft cloth. This will give the part a good shine.

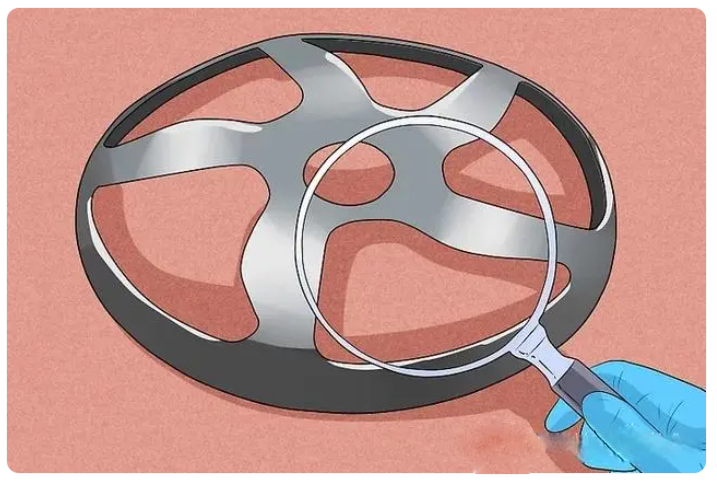
12. Structural Component Inspection
Inspect all sides of the carbon fiber part to ensure there are no cracks or other deformations. If the part is damaged, a new part must be manufactured; if no defects are visible, the part can be used.